How to Paint Your Home's Exterior: Comprehensive Guide


How to Paint Your Home's Exterior: Comprehensive Guide
Painting your home's exterior can significantly boost its curb appeal and protect it from the elements. Follow these detailed steps to ensure a professional-looking and long-lasting finish. For a list of products needed, visit our product page.
Table of Contents
- Why Painting Your Home's Exterior is Important
- Gather Your Tools and Materials
- Preparing Your Home for Painting
- Cleaning and Repairing the Surface
- Priming the Surface
- Choosing the Right Paint
- Painting Your Home
- Post-Painting Care and Maintenance
Why Painting Your Home's Exterior is Important
Painting the exterior of a house can have many benefits, including:
- Protection from the Elements: Paint protects your home from rain, sun, wind, and snow, which can damage siding, trim, and other features.
- Increased Lifespan of Siding: A quality paint job can extend the life of your home's siding, which can save you time and money in the long run.
- Insect Damage Prevention: Paint can help you identify and prevent termite damage early and seal uncovered areas of your home to reduce damage from other insects.
- Increase Home Value: A fresh coat of paint can make your home more attractive and help it sell more quickly. Studies have shown that painting the exterior of a house can increase its overall value.
- Inexpensive Remodel: Painting is one of the fastest, most affordable, and most effective home improvement projects you can do. It can also cover up stubborn marks and stains.
Gather Your Tools and Materials
Add what you need to your cart and pick it up today!
What You'll Need:
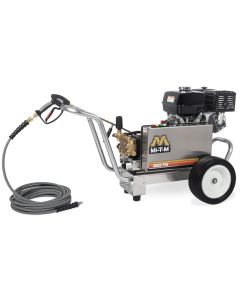
- Pressure Washer: For experienced users to remove dirt and loose paint.
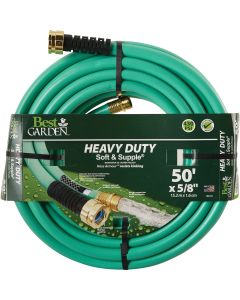
- Garden Hose: For rinsing off cleaner and debris.
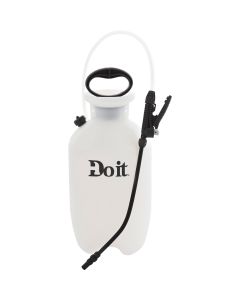
- Pressurized Garden Sprayer: To apply cleaner evenly.
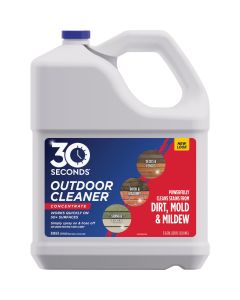
- Exterior House Cleaner: Removes dirt, mildew, and grime.
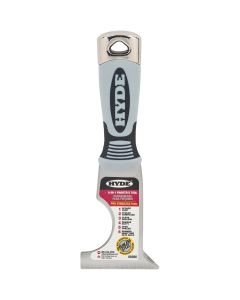
- Scrapers and Wire Brushes: To remove loose paint.
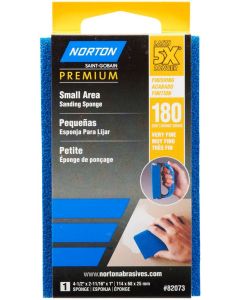
- Sandpaper and Sanding Block: To smooth rough spots.
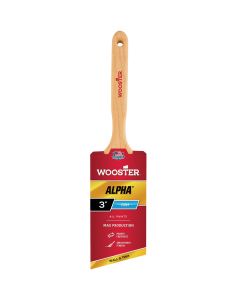
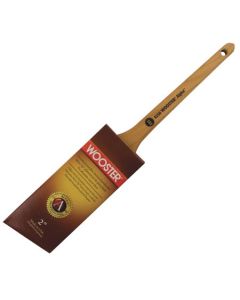
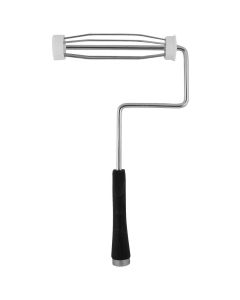
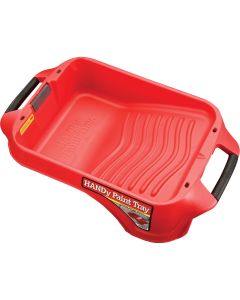
- Paint Brushes and Rollers: For applying paint.
- Paint Sprayer: Optional tool for faster application.
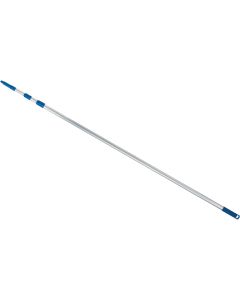
- Extension Poles and Brushes: To reach high areas.
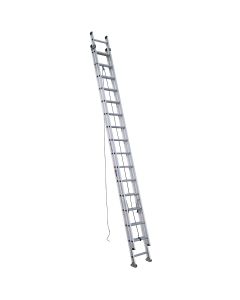
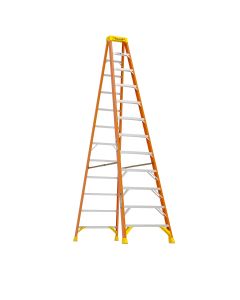
- Extension Ladders or Scaffolding: For accessing upper parts of the home.
- Rental Lift: For very high or difficult-to-reach areas.
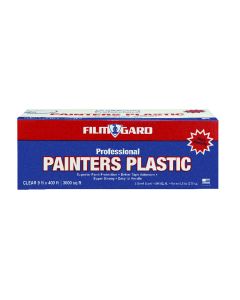
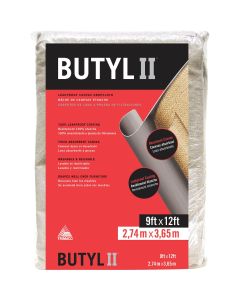
- Drop Cloths and Plastic Sheeting: To protect surfaces.
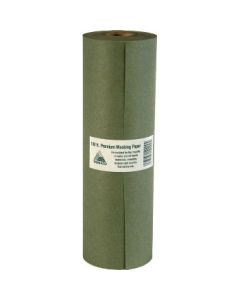
- Painter’s Tape and Masking Paper: To protect areas from paint.
- Caulk and Caulking Gun: To fill gaps and cracks.
- Flexible Patching and Putty Knife: To fill small holes and cracks.
- Safety Gear (Gloves, Safety Glasses, Dust Mask, Goggles): To protect yourself.
- Wiping Cloths/Rags: To clean up any spills.
- Exterior Grade Primer: Best to have a solid foundation to paint on.
- Exterior Paint: (Water-based or Oil-based) talk with our paint specialist about types & grades for your project.

Preparing Your Home for Painting
Clear the Area
- Remove Obstacles: Move any outdoor furniture, potted plants, and other items away from the house.
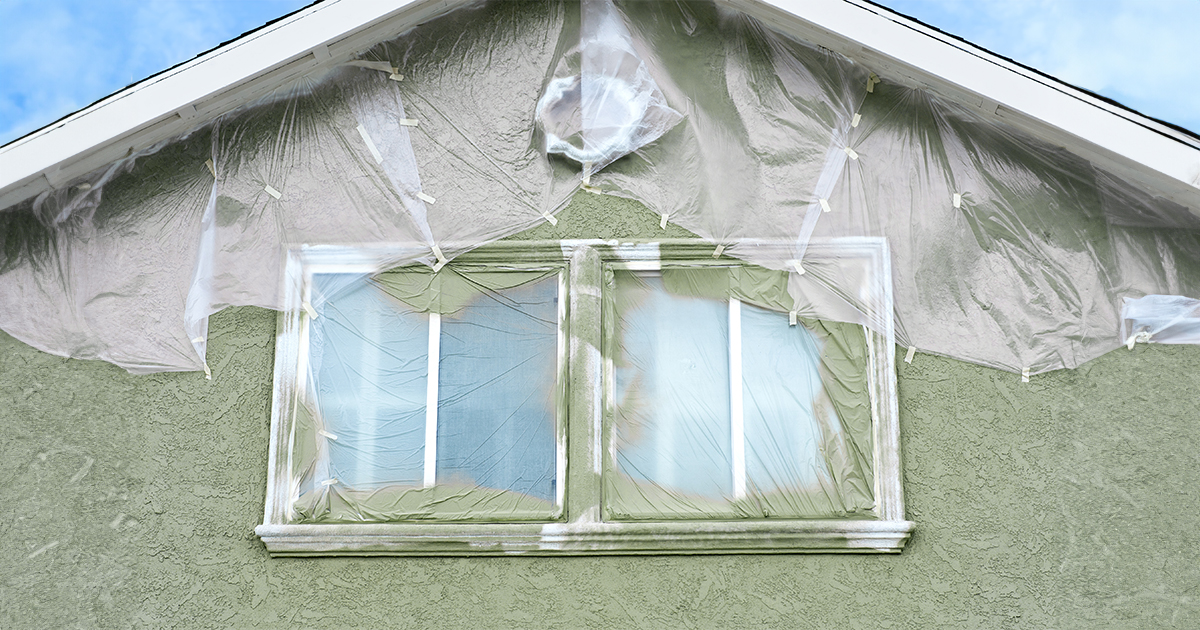
- Protect Plants and Surfaces: Cover exposed plants, walkways, and nearby surfaces with drop cloths or plastic sheeting.
Masking and Protecting Areas
- Masking: If new to painting, take the time to mask areas close to the house that you don't want paint on, such as windows, doors, hardware, and decking, using painter’s tape and plastic sheeting.
- Cover Up: Use drop cloths or plastic sheeting to cover large areas and protect them from paint splatters.

Cleaning and Repairing the Surface
Cleaning
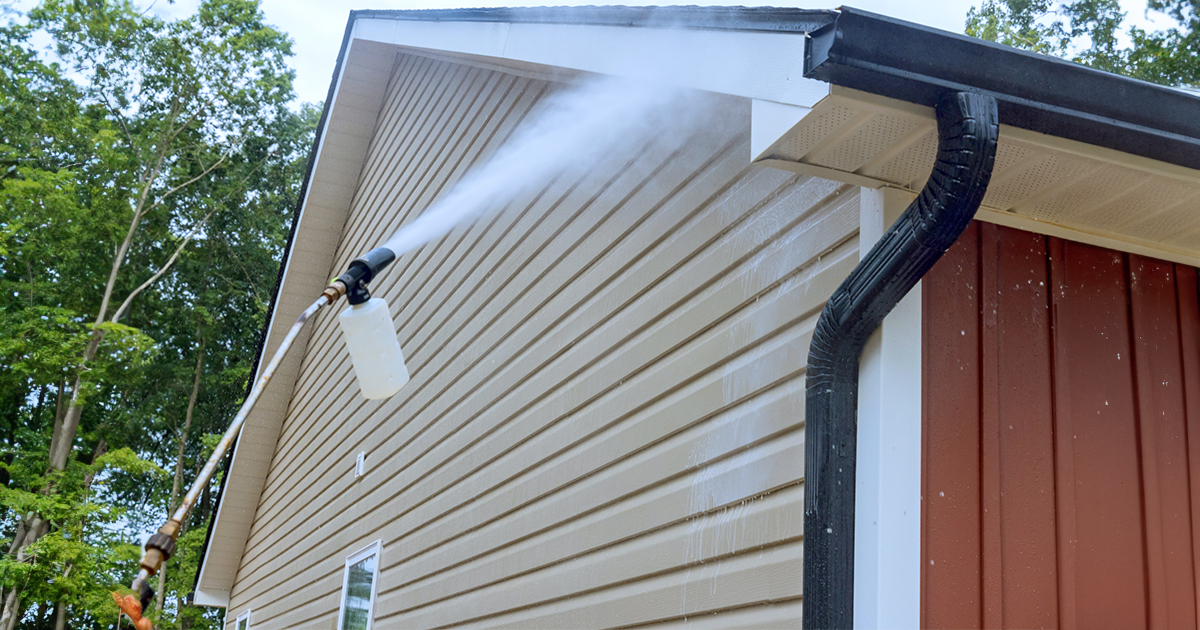
- Apply Exterior House Cleaner: Use a pressurized garden sprayer to apply exterior house cleaner evenly, following the manufacturer's instructions to remove dirt, mildew, and grime. Utilize extension poles and brushes to reach high areas.
- Use a Garden Hose: Rinse the cleaner off with a garden hose.
- Pressure Washer (Optional): If you choose to use a pressure washer, be very cautious. High pressure can damage wood, siding, and other areas of your home if not used carefully. Those with experience should only use this tool to avoid potential damage.
Repairing
- Fill Gaps and Cracks: Use caulk to fill gaps around windows, doors, and other trim.
- Repair Damaged Areas: Apply wood filler to repair any damaged wood surfaces, then sand smooth.

Priming the Surface
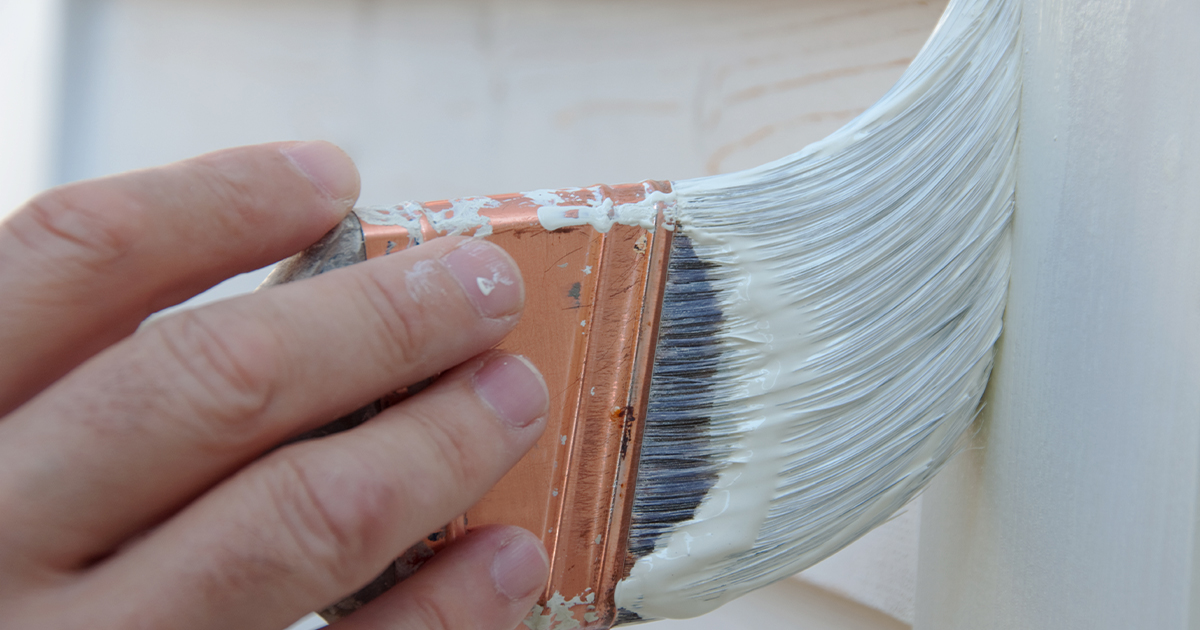
Priming is a key step in painting. Priming before painting ensures superior adhesion of the paint to the surface. It also helps cover darker-colored paints and stains and creates a smoother, more even finish.
Applying Primer
- Select the Right Primer: Use a high-quality exterior primer suitable for your siding material.
- Apply Evenly: Use brushes, rollers, or a paint sprayer to apply a smooth, even coat of primer. Allow it to dry completely.


Choosing the Right Paint
Selecting the Right Paint
A home’s exterior is key for curb appeal and can make or break that all-important first impression of the house, so it’s vital to choose the highest-quality paint possible. To truly transform a home and make the curb appeal last for a long time, we recommend selecting premium paint. Premium paint provides a smoother, more uniform appearance, as well as better durability than economy paint. By using premium paint, your project will likely require fewer coats to give your home the protection it deserves. Additionally, you won’t have to repaint as frequently.
Selecting the Right Gloss
The gloss level you choose for your paint project can significantly impact appearance and maintenance. To determine the right sheen for your exterior project, consider these factors:
- Flat and Velvet Paints: Best for concealing surface imperfections and are ideal for large areas, such as exterior wood, masonry, or metal wall surfaces. Hardest to clean.
- Satin and Low-Sheen Paints: Can be used in larger areas or on window frames and doors where a slightly higher sheen is desired.
- Semigloss and Gloss Paints: Best for highlighting details, such as window frames and doors. Easiest sheen to clean.

Painting Your Home
Choosing the Right Day
Ideal Conditions: Paint on a dry day with temperatures between 50-90 degrees Fahrenheit. Avoid painting in direct sunlight or on windy days. And stay away from days with high humidity.
Applying the Paint
- Stir the Paint: Thoroughly stir the paint before application.
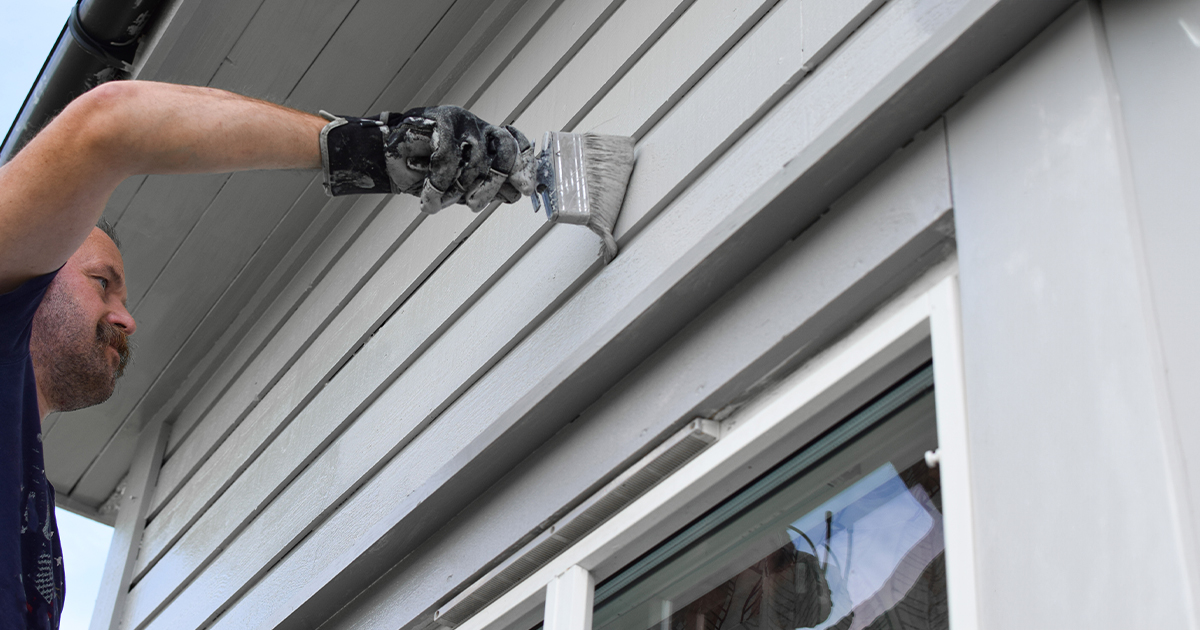
- Cut In First: Use a brush to paint edges, corners, and trim areas first.
- Roll or Spray: Use a roller or paint sprayer for larger surfaces, applying paint in even, overlapping strokes.
- Apply Multiple Coats: For the best coverage, apply at least two coats of paint, allowing each coat to dry completely before applying the next.

Post-Painting Care and Maintenance
- Inspect Your Work: Check for missed spots in between major steps and touch up as needed.
- Clean Up: Remove all protective coverings and clean your tools.
- Maintain Your Paint Job: Regularly inspect your exterior paint for signs of wear and address any issues promptly to extend the life of your paint job.
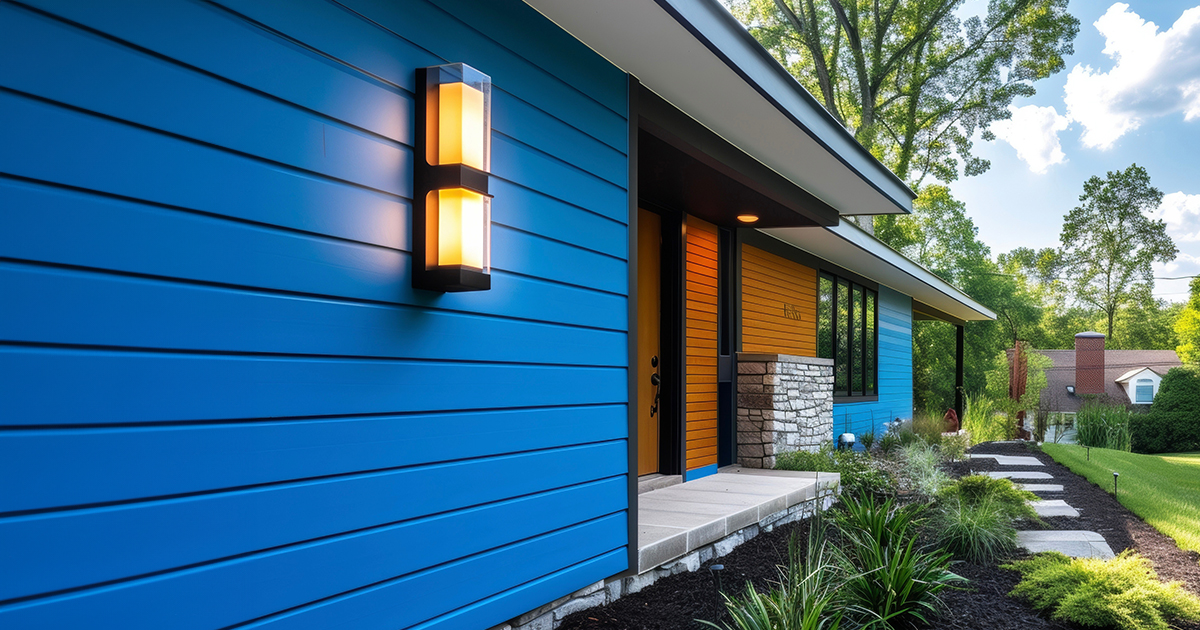
By following these steps and consulting your paint’s specific instructions, you can ensure your home’s exterior remains protected and looks great for years to come. Visit our product page for a comprehensive list of materials needed for this project.

